

26 October 2026
Little Treats from the Crypt: 5 Cute Halloween Craft Ideas
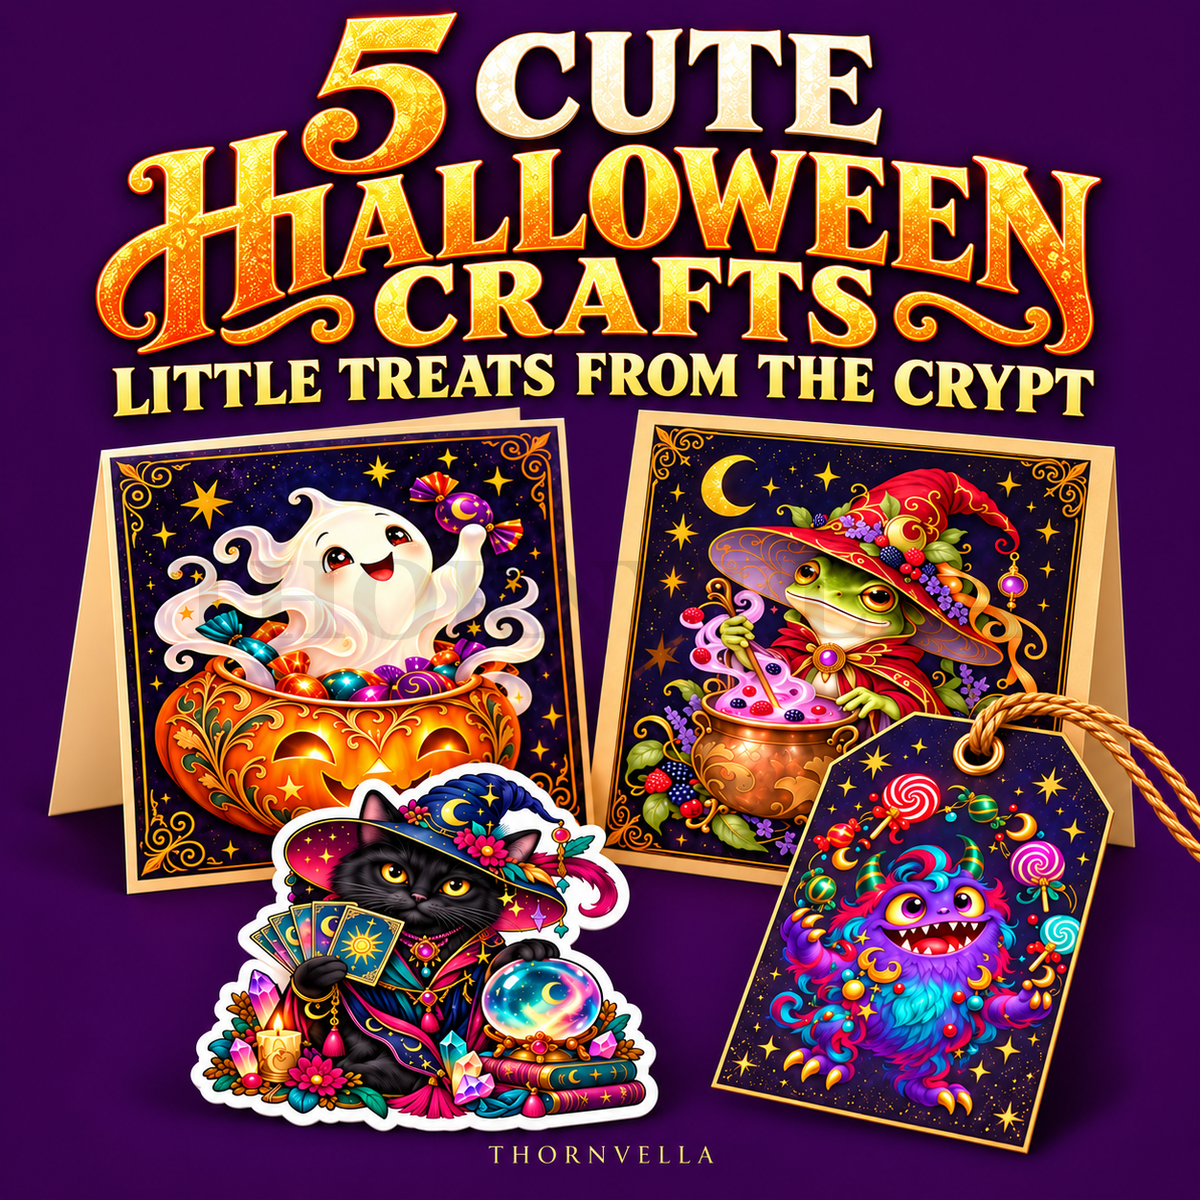

Some Halloween projects call for a grinning ghost and a generous helping of sweets. Little Treats from the Crypt is a collection of 100 transparent PNG illustrations across 25 visual styles, ready to bring a playful, slightly haunted mood to small creative projects.
Want to use the illustrations from these projects? Explore Little Treats from the Crypt — 100 transparent Halloween PNG illustrations. Add your own wording and layout to create the projects below.
Think a ghost peeking out of a pumpkin, a frog brewing something curious, a celestial black cat and a colourful candy monster. Choose a favourite, add a few words of your own and make one small thing feel special.
Start with one illustration and a simple palette
You do not need to use every colour in the artwork. Pick two to repeat in your lettering, ribbon or background. Pumpkin orange and warm cream suit a cheerful ghost; plum and teal give a candy monster a lively finish. A quieter background helps all those tiny details stay visible.
The pack ranges from storybook and watercolour looks to stained glass, linocut, paper cut and maximalist fantasy. Try keeping one style across a project before mixing several together.
1. Make a little Halloween gift tag
Create a tag-shaped canvas in your preferred design app and place one PNG near the bottom. Leave a clear space above it for a name and a short message, such as “A little treat for you”. A ghost or candy monster makes a cheerful companion to a small wrapped gift.
Print one proof on plain paper, then use cardstock suitable for your printer. Trim the tag and punch a hole away from the artwork. Add your own ribbon. For a ready-made stationery option and help with printing, see our Halloween cards and matching gift tags guide (artwork: Morbid Halloween Cards & Gift Tags).
2. Create a small sticker layout
Place a few illustrations on a page with space between them. Size each one for its intended spot: a notebook corner usually needs less artwork than a journal cover. Leave a border around each character if you plan to cut by hand.
Use sticker paper compatible with your printer and test a single sheet first. The transparent background makes it easier to arrange the images, but it does not create a cutting path. The pack contains PNG artwork; you will need to set up any machine-cut outlines yourself in compatible software.
3. Add a character to a junk journal spread
Let one character sit beside a writing panel or peek over a paper pocket. A black cat works nicely beside a book title or a short note about your October reading. Keep the writing area open so the page still has room for your own story.
Try the layout on screen before printing, or print the illustration separately and cut it out for a paper layer. Our Halloween junk journal tutorial (artwork: Halloween Mega Bundle) shows how to build a spread with patterned paper, a writing area and a pocket.
4. Design a cheerful Halloween greeting card
Place one illustration on the front of a card layout and add a short greeting. Leave generous space around the character and check that the message is easy to read at the final size. A simple cream background lets a colourful illustration do most of the work.
Make a plain-paper proof to check the fold, margins and orientation before using your best cardstock. If you prefer a complete card template, explore our Storybook Cartoon cards and tombstone gift tags (artwork: Storybook Cartoon Halloween Cards & Tombstone Gift Tags).
5. Give a digital invitation a little personality
Use a ghost, frog or monster as a corner accent on a Halloween craft-night invitation. Keep the event details on a clear background and choose a readable typeface. Export a finished copy to share, while keeping an editable version of your own layout for changes.
For a matching decoration on the craft table, our potion-bottle label tutorial (artwork: Potion Labels Mega Bundle) offers a small apothecary project to make alongside it.
Know your PNG size before you print
Each supplied illustration has a 1,254 × 1,254 pixel canvas with transparency and 300 DPI metadata. At 300 pixels per inch, that full canvas is approximately 4.18 inches (10.62 cm) square; the visible artwork sits within it. This is useful for small placements. Enlarging a file beyond its original pixel dimensions can soften its detail.
PNG files are flattened artwork. You can resize, arrange and layer them in a PNG-compatible app, but they do not include editable text, vector paths or ready-made card and tag templates. When printing a layout you have sized yourself, check the print preview and use 100% or Actual size to preserve that layout.
Choose one character, one short message and one finished item. Print a proof, adjust the size and enjoy the making. Digital artwork, paper and screen colours can look different, so a quick test is useful.
These ideas use digital illustration files. Printed items, stationery templates, craft supplies and display props are separate. For projects you intend to sell, check the pack’s usage licence before making products.
Find the artwork and explore more ideas
View the Little Treats illustration pack and its file details. For more project options, read Inside the Complete Digital Vault: Six Creative Packs.
You might also want to check out
- Halloween cards and matching gift tags guide
- Halloween junk journal tutorial
- Storybook Cartoon cards and tombstone gift tags
- potion-bottle label tutorial
This would go well with your project
- Potion Labels Mega Bundle — Add a labelled decorative bottle to a handmade gift.
- Halloween Mega Bundle — Make a coordinated paper pocket or journal spread.